How To Protect Your High Tunnel Greenhouse From Strong Winds & Storms
Which high tunnel features are most important for wind durability and resilience?
Updated on
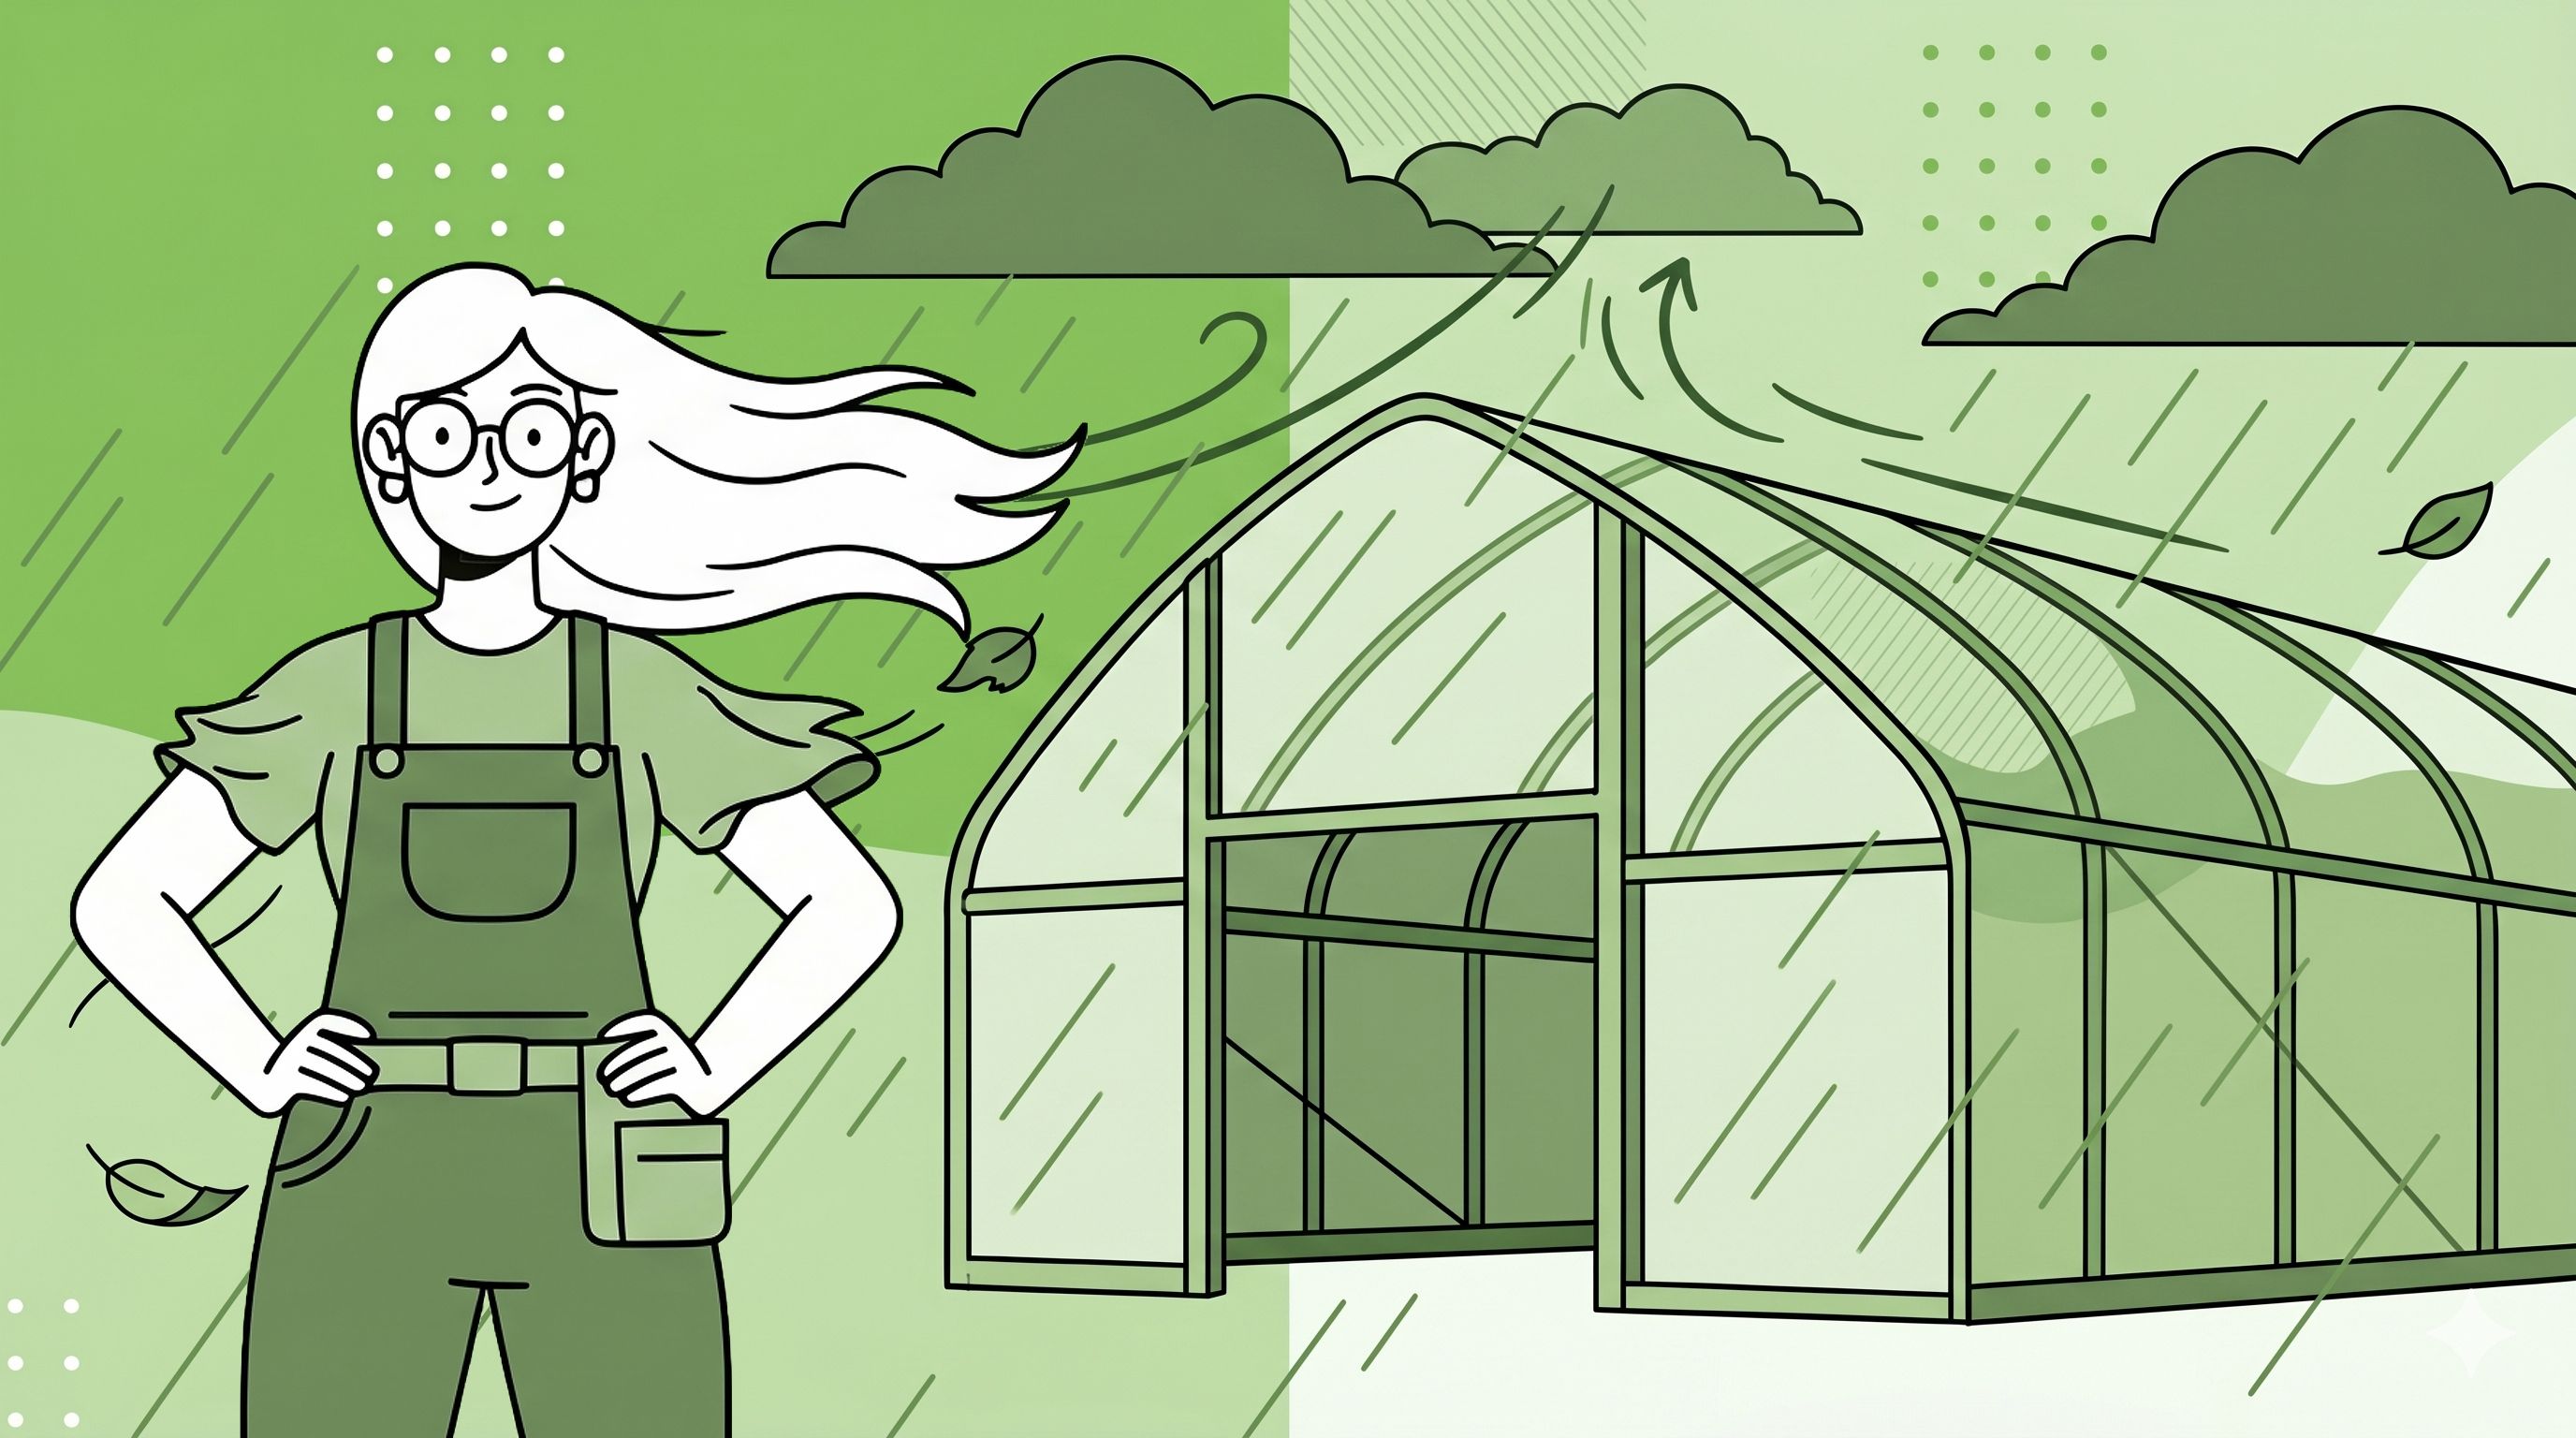
Can high tunnels stand up to strong winds and storms?
The short answer is, it depends!
Greenhouse-like tunnels, often referred to as caterpillar tunnels, high tunnels, or hoop houses, are structures that extend the growing season for commercial market gardeners.
If you live in a region that gets strong winds and storms, you might be wondering if a high tunnel can withstand your climate or if it will end up a tangled mess of plastic and metal.
There are tunnels that will handle a lot of bad weather, but it depends on:
- how the tunnel is designed
- how you install it,
- how you prepare it ahead of storms
Learn more about the Farmers Friend line of high tunnels, covered by the industry pioneering Storm Damage Warranty.
Who’s this guide for and how it’ll help you
In this guide, I share industry tips and insights for two types of market gardeners.
Growers who are looking to make their existing tunnel more wind durable.
Or for growers who are doing research before a tunnel purchase and want to be sure they’re selecting a high tunnel that’ll be resilient to wind and storms.
Comparison shopping for a new tunnel can be overwhelming.
Every tunnel manufacturer approaches their tunnel kits a little differently and it can be challenging to compare apples to apples.
It’s easy to worry whether you’re getting the kind of tunnel you need to hold up to the kind of weather you get?
Which features are important? And what’s overkill?
I get you!
In this guide, you’ll learn:
- Which high tunnel features are most important for wind resilience?
- What are the most important steps of wind-resilient tunnel installation?
- Checklist: A storm is coming. How do I prepare my high tunnel to ride it out?
Farm Smarter, Not Harder
Join thousands of market farmers receiving regular insights on how to streamline your systems, save your back, and increase your farm’s bottom line.
Which high tunnel features are most important for wind resilience?
There are two primary factors that determine a high tunnel’s resilience to wind:
- How well it’s anchored to the ground
- How strongly it’s built
Tunnel Anchoring
What kind of soil do you have? Clay? Rocky? Sandy?
While it will take more grunt work to anchor your high tunnel down in clay or rocky ground, those kinds of soil usually provide a more reliable foundation than sand.
If you have sandy soil, it’s easier for your anchoring to wiggle free as your tunnel is buffeted by winds. You might need to invest in extra anchoring to keep everything snug.
Here are the anchoring recommendations we use at Farmers Friend:
Caterpillar Tunnels
- Standard: The typical anchoring method is using ground posts or rebar posts.
- Recommendation: Farmers Friend recommends using the Earth-Lock Anchor Kit to secure the corners of your Caterpillar tunnel, and ¾” rebar driven 30” into the ground, delivering superior hold against wind and ground shifts.
High Tunnels
- Standard: A common anchoring method is using ground posts, driven into the ground, sliding the bows on top of that.
- Recommendation: At Farmers Friend, we use ground posts that are driven 36” into the ground. For additional strength, you can set some or all of your ground posts in concrete. Using concrete around the posts dramatically increases the retention strength of the tunnel into the ground.
Check out my video to see the different types of tunnel anchoring in action and how they compare against each other.
Tunnel Structure
What are the most important structural elements in a wind-resilient high tunnel?
Unfortunately, the answer is: basically all of them. The reality is if you live in an area where you get strong winds, you can’t afford to skimp on the integrity of your structure. It’s just not worth it.
So what’s the baseline for a solid high tunnel structure?
Here’s a breakdown of the bones of a high tunnel and what I recommend as a starting point:
Bow spacing
- Standard: 4 - 6 feet between bows.
- Recommendation: 4-foot spacing. (this is required for most grant funding)
Bow strength
- Standard: You might find anything ranging from 12 gauge to 18 gauge for various parts of the tunnel and bow diameters from 1 ⅜” all the way up to 2 ⅜” or higher.
- Recommendation: 14 gauge for bows and ground posts, and 16 or 17 gauge for purlins and other braces. Keep in mind that the smaller gauge numbers = thicker steel. And the bow diameter is equally as important as gauge for bow strength.
End walls
- Standard: From a venting perspective, the wider the end wall opening the better.
- Recommendation: If you have regular wind, you want end walls that are framed out securely and also allow wide openings for summertime venting.
End Wall Considerations
End walls can provide your tunnel with the most stability in windy conditions.
The biggest mistake that’s made when considering end walls is not thinking about wind. The question you want to be asking is which end wall options provide me with convenient, easy access AND will withstand the average wind speed in your region.
If your average wind speed is above 30 mph, then you should pay extra attention to your end wall construction. End walls can provide your tunnel with the most stability in windy conditions.
Consider DIY end wall options if you live in regions that frequently see high winds.
For example, I visited Don’s Produce Patch Farm in Kansas where they routinely see 80+ mph winds. What they do to secure their tunnel structures from the wind is to build beefy DIY end walls. These end walls provide the whole tunnel frame extra durability against high winds.
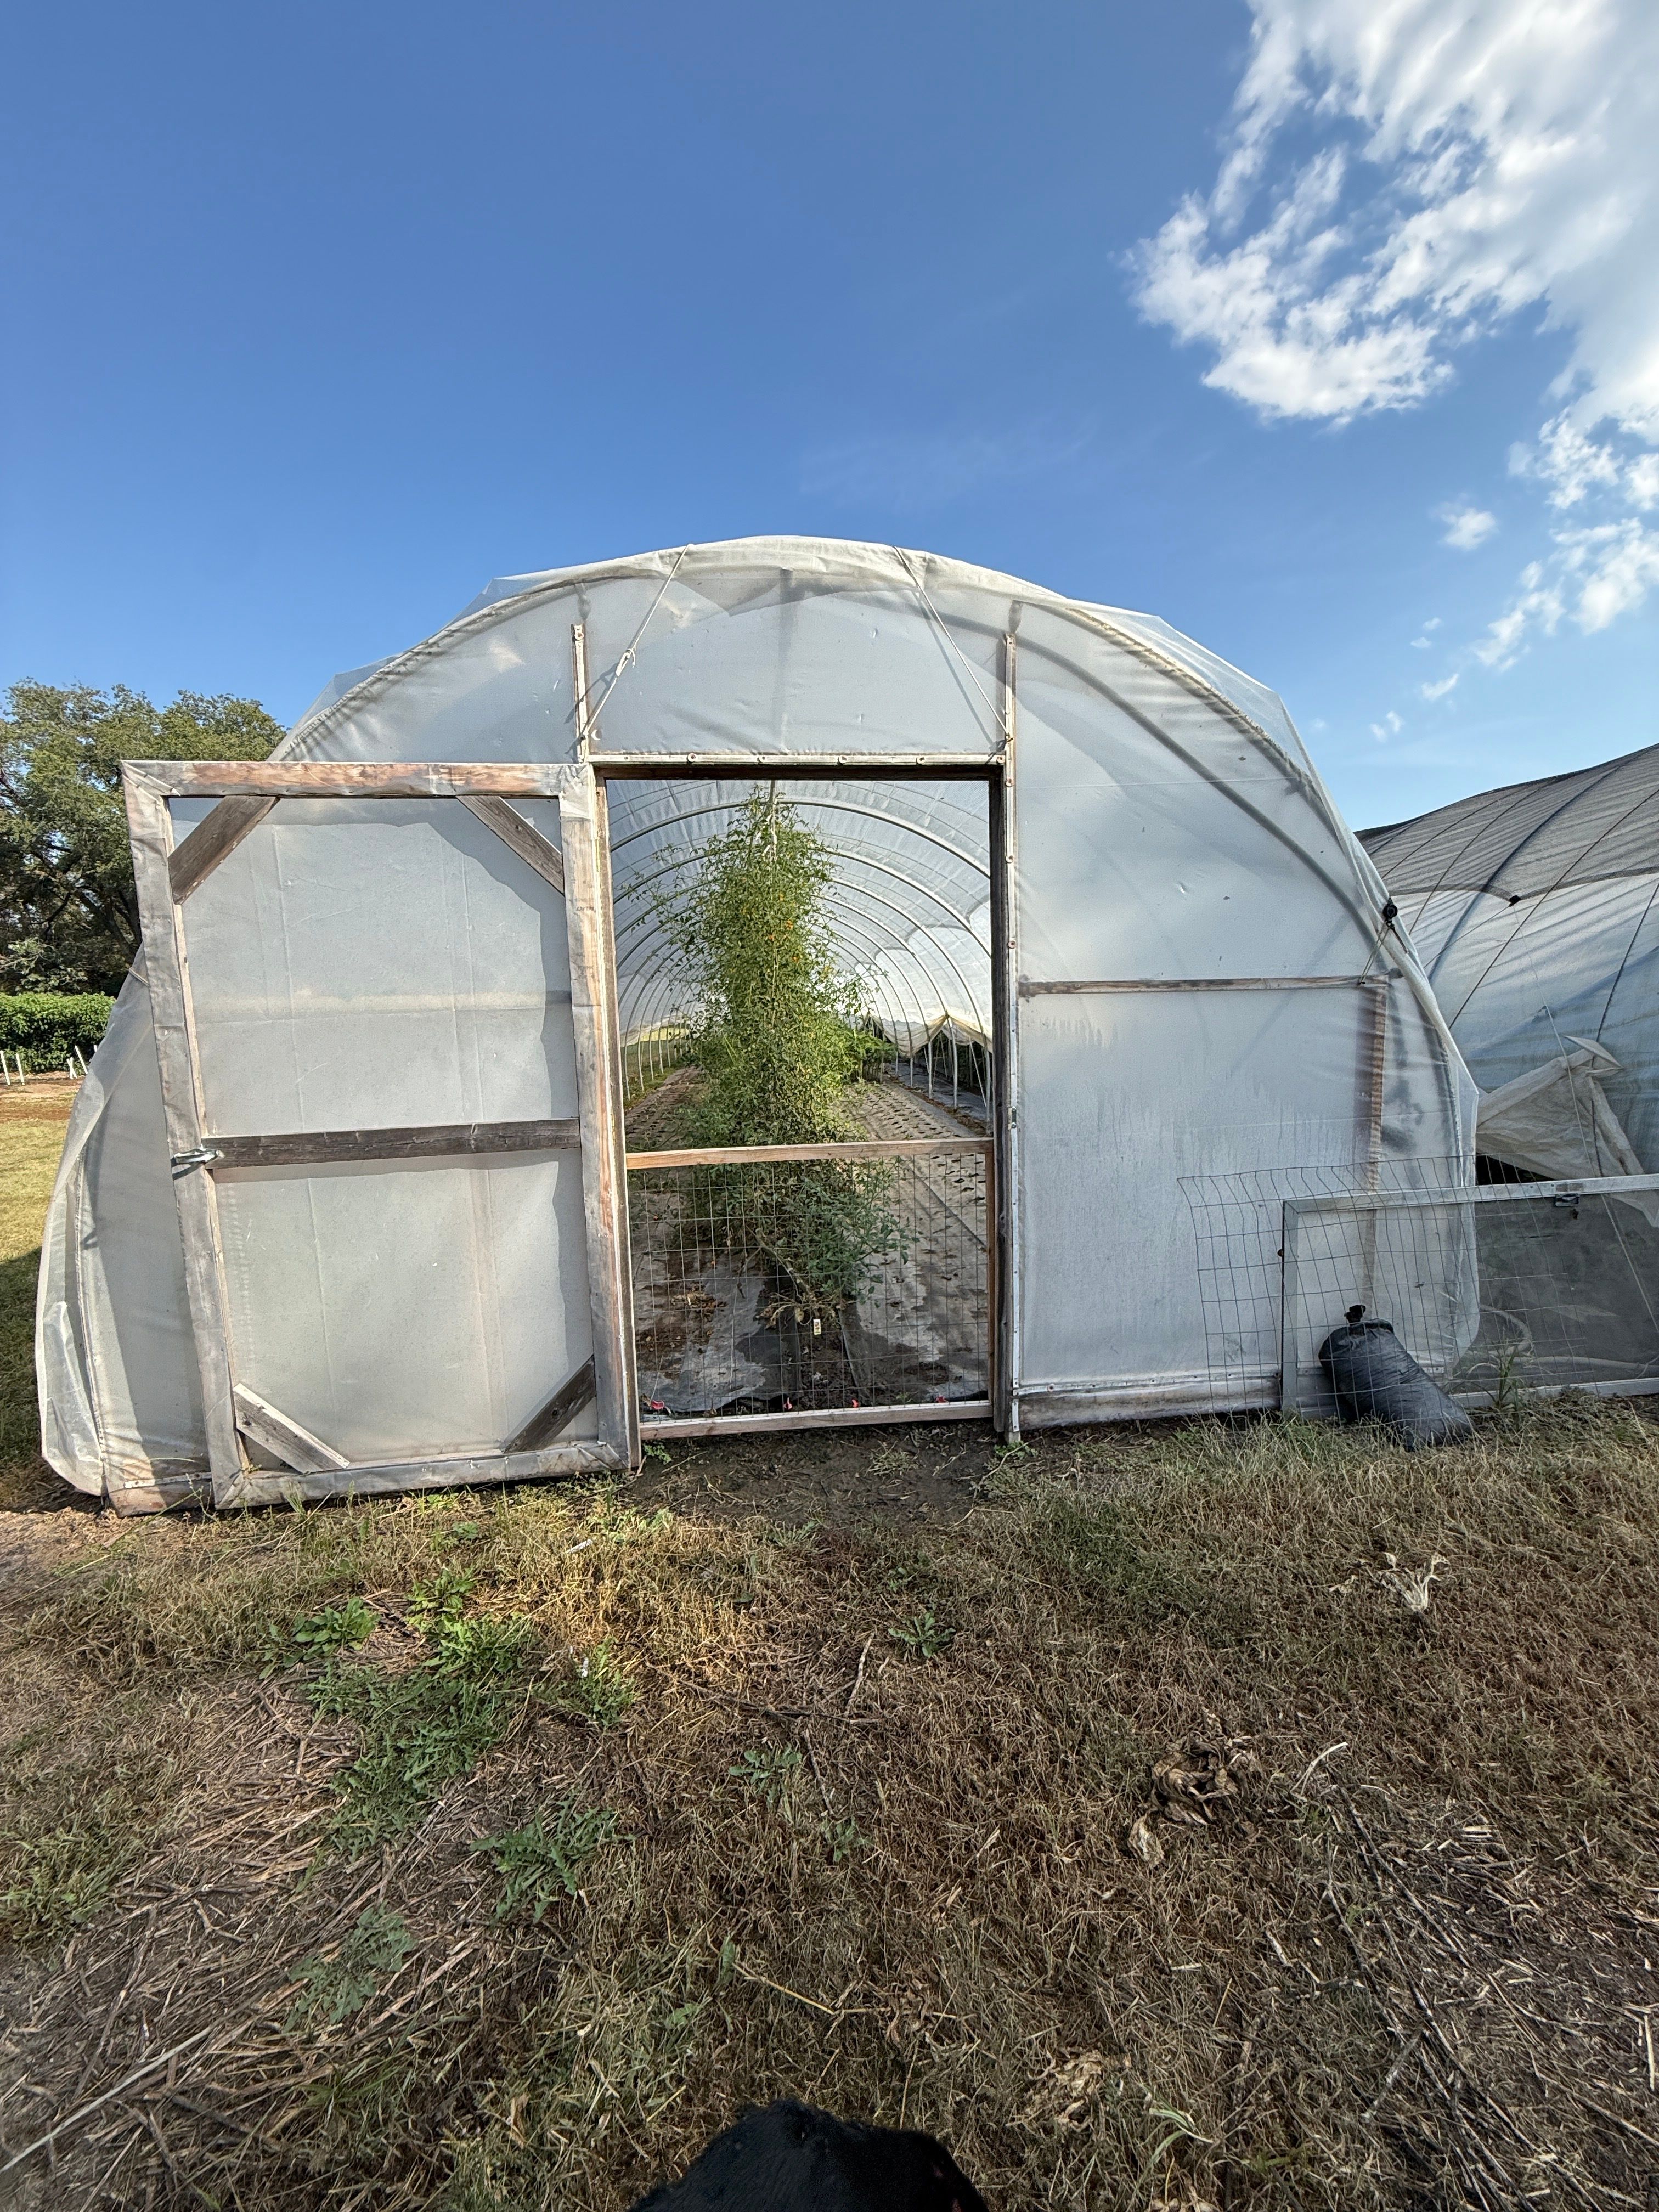
A great way to secure your end walls during storms is propping sand bags up against the doors.
About Tunnel Warranties
What happens if you make the extra investment in a wind-resiliant high tunnel and Mother Nature still gets the upper hand?
It depends.
There are a number of manufacturers who offer tunnel kits. Be sure to look at how they stand behind the structures they sell.
Even the best tunnels can handle only so much severe weather.
Some manufacturers offer no kind of guarantee on their tunnels, so you’re stuck picking up the pieces alone after the storm.
At Farmers Friend, we include 5-year and 10-year storm damage warranties on our complete line of tunnels! We believe in the quality of our tunnels enough to put our skin in the game with you. Read about our Storm Damage Warranty program here!
What are the most important steps of wind-resilient high tunnel installation?
Tunnel Orientation
When placing a high tunnel, many farmers focus on a single factor—usually light. Others ignore orientation altogether. The reality is that both light exposure and weather patterns matter, and the best orientation considers both at the same time.
First, the non-negotiable part: avoid shade and nearby hazards. Trees and buildings can block sunlight, compete with crops for water and nutrients, and create serious risks during storms. Limbs and debris become projectiles in high winds and are a common cause of tunnel damage.
Now, the two main orientation factors to weigh:
- Light distribution: There’s ongoing debate about whether tunnels should run north–south or east–west. Some farmers see little difference, while others—especially in the South—prefer north–south orientation for more even light distribution across beds throughout the year. This can matter more for certain crops and production systems than others.
- Prevailing winds and storms: Orientation also affects how your tunnel handles wind. In many regions, it’s wise to align the tunnel so the narrow end walls face prevailing storm winds, reducing sidewall pressure and uplift forces. A tunnel that’s poorly oriented for local wind patterns is more likely to experience plastic failure, end-wall damage, or structural stress during severe weather.
The right orientation is usually a compromise:
- Maximize usable, even light
- Minimize exposure to damaging winds
- Fit within how your farm is laid out and standardized
This is a situation where talking with local growers is extremely valuable. Ask what orientation they’ve used, what storms they’ve endured, and what they would change if installing again.
The takeaway: tunnel orientation isn’t just about plant growth or storm survival—it’s about finding the best balance for your location, crops, and risk tolerance.
Properly Stretch Your Plastic
One of the nuances of building your high tunnel greenhouse is installing the plastic correctly.
If the plastic isn’t stretched tight enough, the wind will catch it and flap it against the bows causing damage to your plastic and shortening its lifespan.
If the plastic is overstretched, it will develop weakness along stress points that will tear or rip.
You’ll spend a lot of time and money on greenhouse patching tape trying to extend the life of poorly installed plastic. Do it right the first time and save yourself the headache.
The good rule of thumb is: Pull out the wrinkles, but don't pull out the life.
The best time to install: aim for a calm day when the temperature is between 60°F and 75°F. If you install it when it's too cold, the plastic will sag and flap like a sail as soon as the sun hits it. If you install when it's too hot, you are at the highest risk of overstretching.
Shop Farmers Friend Line of Tunnels
See all Framers Friend tunnels covered by our industry leading Storm Damage Warranty
Book a Free Tunnel Installation Strategy Call
If you’ve been thinking about installing tunnels on your farm, but you’re not sure where to start, you can request a FREE consultation call with a member of the Farmers Friend team. They’ll walk you through the critical steps of designing a tunnel installation strategy for your farm. If you’re tired of losing crops to unpredictable weather, this could be one of the wisest calls you make this year.
A storm is coming. How do I prepare my high tunnel to ride it out?
One of the best ways to protect your tunnel ahead of a storm or high wind event is to run through this checklist. Airline pilots depend on checklists to avoid missteps for the same reasons you should depend on a pre-storm preparation checklist.
7 Step Pre-Storm Tunnel Preparation Checklist
- Patch holes that are small before the storm with greenhouse plastic tape
- Pick up and secure anything that could fly around outside that could puncture the poly
- Close all openings. Secure end wall doors and vents. If the wind gets inside it’s a big problem
- Seal your tunnel by rolling down its sides to avoid the ballon affect
- In some settings, for lighter storms you can close one side and keep one side vented
- Use sand bags to block swinging end wall doors
- If have tarps or fabric laying around, weight them down
A high tunnel, if well anchored, engineered and maintained, can withstand high winds. And the good news is, as this guide shows you, there’s a lot you can do to lower your risk of high tunnel damage!
In This Article
- Can high tunnels stand up to strong winds and storms?
- Who’s this guide for and how it’ll help you
- Which high tunnel features are most important for wind resilience?
- Shop Farmers Friend Line of Tunnels
- Book a Free Tunnel Installation Strategy Call
- A storm is coming. How do I prepare my high tunnel to ride it out?